Hello Friends…. how are you this Friday? Today I have a tutorial on the Penny Black blog with watercolor markers. I don’t want to pretend that I am an expert with watercolor markers…. this is new territory for me and I am sure that you have may seen this technique around but, I did add a few of my favorite touches.
All of these images are part of the new Valentine collection at Penny Black and you can check them out here.
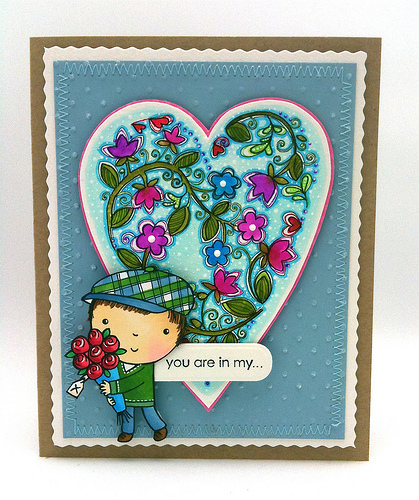
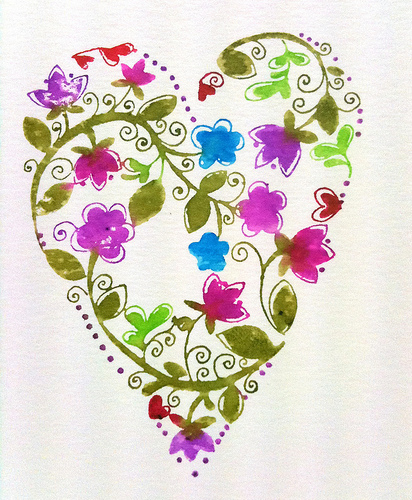
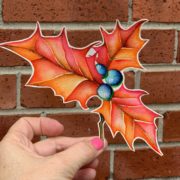
I love this heart. Scroll down for my “broken” heart cards.
I added lots of fine lines and dot’s and I kept coming back when the paper was dry and adding a few touches of color. I love the vibrancy of these Tombo watercolor markers but, any ones will do. 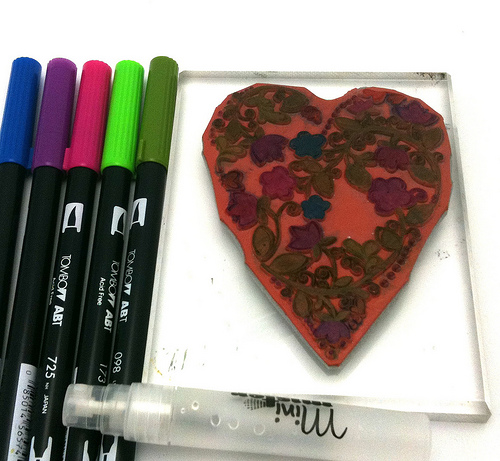
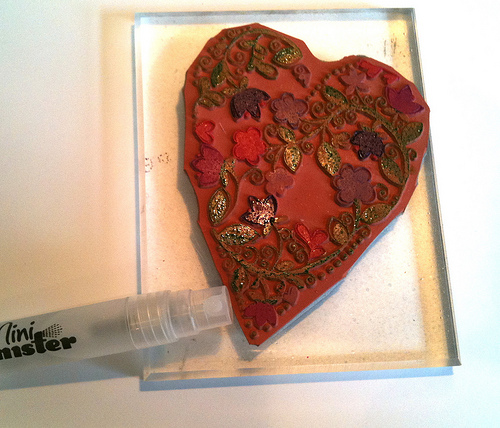
Mist your stamp several times. You might want to practice on a small stamp to test how much water to add to get a nice water colored “stamped” image.
You can fill in colors with a fine tip brush and a tiny bit of water. Make sure to clean your brush between colors. See below
Would you have thrown these away or would you continue to work with them? I am curios 🙂
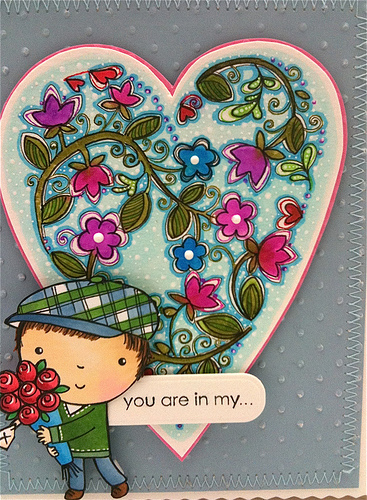
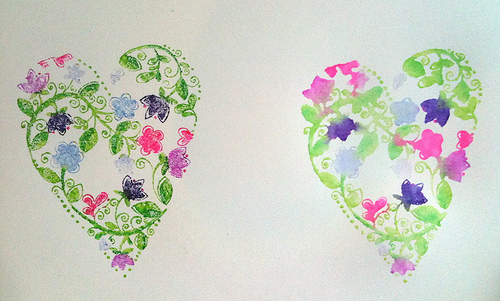
The heart on the left is an example of not enough misting with the water. I decided to see what the result would be to get a second stamped impression. I didn’t think either one was good enough for a card but, I persevered and turned them into my broken heart cards.
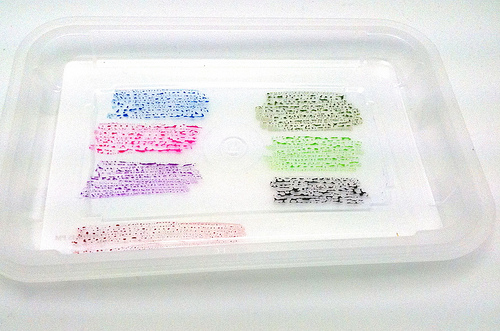
This plastic lid is from the recycle bin and I like how it gave me a large palette to work with. The white paper was taped to the bottom so the colors would show up. Using your fine tip, damp paint brush, lift your color directly from the palette and apply to the image to touch up desired areas or to enhance the color.
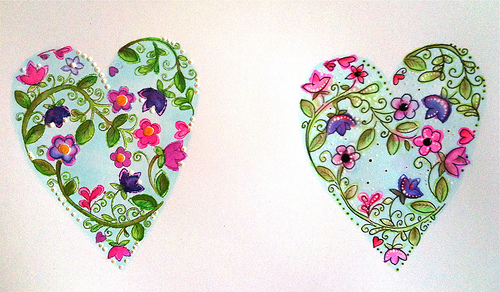
You might notice that a fine tip black marker added some highlights to each image. Each heart has a different fine tip black marker. (the right is a Copic Multiliner 0.05 and the left is a Sharpie “fine” )
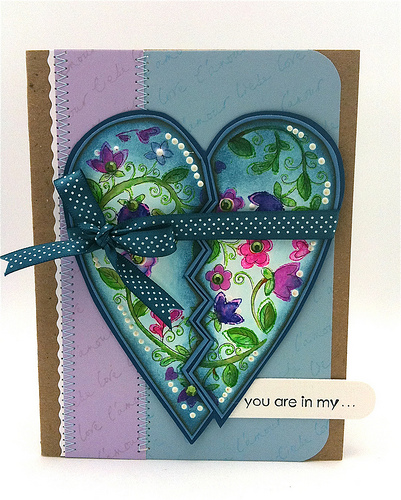
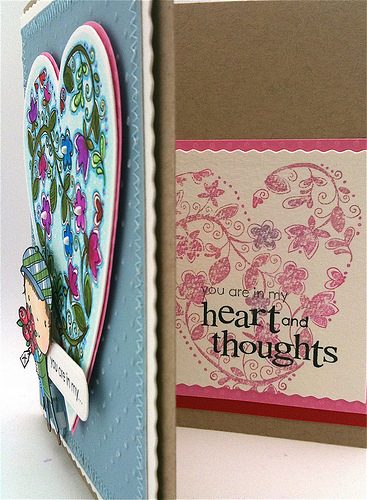
Two friends have had recently had deaths in their families hence the broken hearts. To create a broken heart start at the bottom and lightly draw a zig zag down the middle of the heart with a pencil. (this first one I started at the top so the bottom has a different look.) Use a sponge dauber to add highlights to the hearts edges with distress ink. Mount on paper and cut out again.
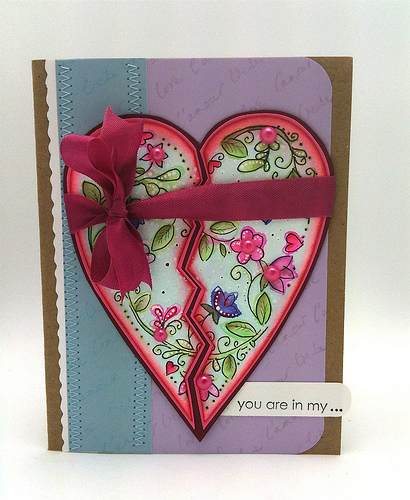
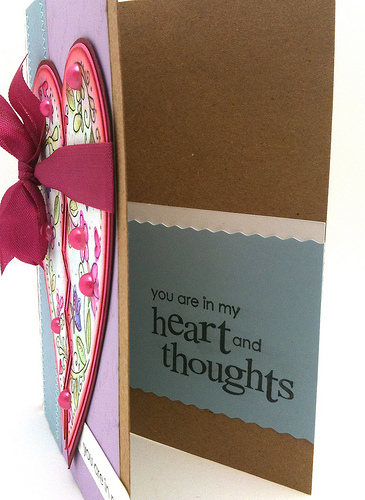
I love the symbolism of the wrapped hear. I find it so difficult to find comforting words to a person grieving.
Thank YOU for stopping here I really appreciate it! Have a wonderful weekend! Hugs, Kathy
IF you have ANY questions please email me so I can contact you with a response. 🙂
|
|
|
|
|
|
|
|
|
|
|
|
|
|
|
|
|
|
|
|
|
|
|
|
|
|
|
|
|
|
 Day 19. Holly are you?
 STAMPtember® Blog Party blog
 having fun with die cuts and watercolor-masculine cards


This watercolour marker technique is something new to me, but very interesting! I love the stamped effects, but I guess it take some practice to get the right amount of mist! I’d probably save the one that wasn’t stamped successfully until I can find a use for it “someday” 🙂
Those are very thoughtful cards you made for your friends…
Have a great weekend!
Interesting…Lovely card and I really like your Technique. Thanks for sharing Kathy.
Its a great tutorial Kathy, something I haven’t ventured into yet. Love the broken hearts:)
Pinky
Such beautiful work! Such amazing results! Love these card, Kathy!
Your cards are gorgeous! Yes, I would have kept on working with them. 🙂
I’m so sorry about your friends’ loss.
*smiles*
debbi
Fantastic tutorial and just as I get with copics, now I need watercolor markers too? LOL Thanks Kathy for enabling!
Wow just stunning! The colors and the details are fabulous – LOVE LOVE LOVE the broken hearts cards!
I do so love the ‘imperfectness’ of the other stamped images. It gives it such a great watercolour effect, but with your black outline you can still see at a glance what the image actually is.
These are just beautiful 🙂
Thank you for the tutorial, I really love using this technique. Of the two images I would not have thrown either out, sometimes when I see an imperfection after you add some colorful cardstock, and other embellishments it takes on a look of its own and makes it unique. Now who wouldn’t want to receive such a unique creation! Tks again for sharing
OMG these cards are awesome, love the water colouring and thanks for the tutorial… I’ve never tried this technique before.
stunning! Thanks for sharing.
just stunning!!! Love the bright vibrant colours!!!! Thanks for the tutorial! Hugs Juls
Holy cow! I’ve never seen watercolor done like you did it! Gorgeous.
Beautiful card with New PB boy stamp! That’s the set i’m planning to get! (cuz the girl in bunny outfit looks like me! lol!) I can see you put so much work on it! Thank you for the tutorial of water coloring! Just BEAUTIFUL!! I like the other variations of cards too!
Incredibly gorgeous! You’re makin’ me want Tombows, now. ;O)
Sorry to hear of your friends losses. Am excited to try the watercolor marker techinque.
Oh, Kath–only you would be so clever to use something that I would probably discard into two wonderful “broken heart” cards! Such meaningful cards, too…
Love how you “rescued” your rejects and used them. What a novel thought for them. I am a fond user of Tombows and love how you used them to watercolour. You are so inspiring Kathy
So gorgeous….I love all your fabulous artistic additions to your stamping. Thanks for the great tutorial too!
~blessings
Great cards Kathy. Love your colors.
Your cards are delightful! Thanks for sharing the tutorial!
gorgeous cards, Kathy! amazing coloring. wow!
Hi Kathy,
never seen this before what a wonderful idea to try thanks for sharing x
Suzie qx