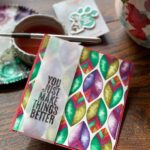
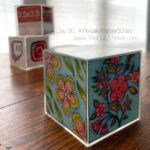
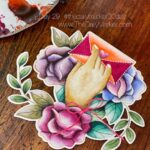
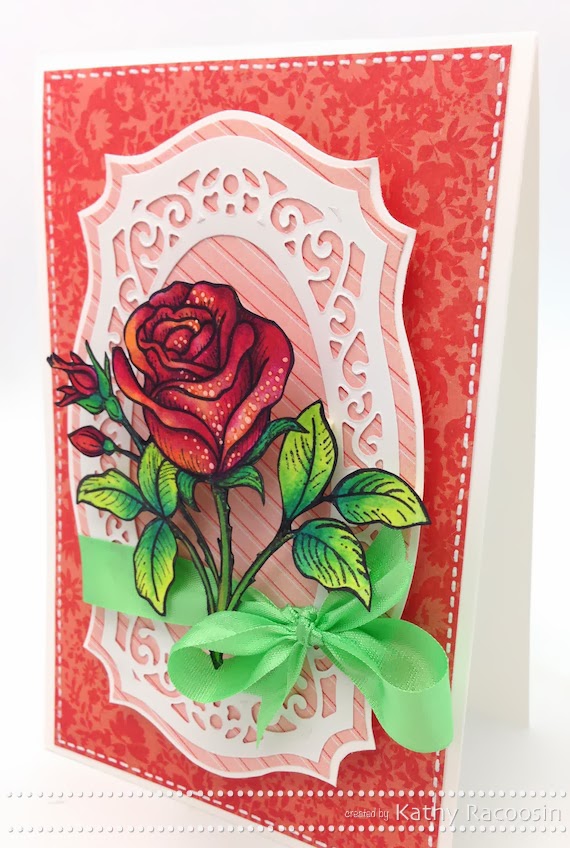
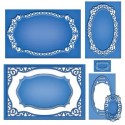
The lacy die cut in the center is a Spellbinder die that fit’s inside a labels 25. Love how it framed my rose so nicely.
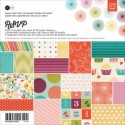
The paper is from a BasicGrey 6×6 paper pad called “RSVP” and I just am loving the patterns 🙂 Below is a mini tutorial of the finishing touches on my rose.
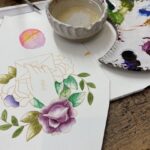
Photo #2: The finished rose before the wash. (love using these blending sets) I knew that I would be cutting out the rose so I happily colored over the lines for this particular image.
Photo #3: Use an orange alcohol marker to lightly color over the entire rose…an orange wash!
Photo #4: Use the “0” Colorless blender marker to accent the highlighted area on the rose.
Photo #5: I traced over the flower with a fine tip Sharpie marker.
Photo #6: Add white dots. When the dots are dry gingerly dot a pink marker on top of the white dots to soften them. If the marker lingers on the white dots they will smear. (I suggest trying this technique on some scrap paper first.)
Let me know if you run into any questions. Have a fantastic day! Hugs, Kathy
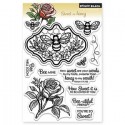
CARD SUPPLIES & LINKS:







 purple onion & simon says day one
 hello and a giveaway
 STAMPtember® blog hop with Simon Says Stamp
